Creating artwork often involves the use of a number of derivative graphic assets. Setting up relationships (links) between these assets allows you to find the necessary files much faster.
Examples of file relationships (links) include a brochure that contains several photos, a company logotype, and vector corporate style elements, and a model release agreement document linked to all the photos of the model.
How to link items
To start linking items (files) select a single item in the thumbnail browser, right-click and go to the Linking >Link Item… menu or press the Ctrl + L keys to bring up the Linking panel:
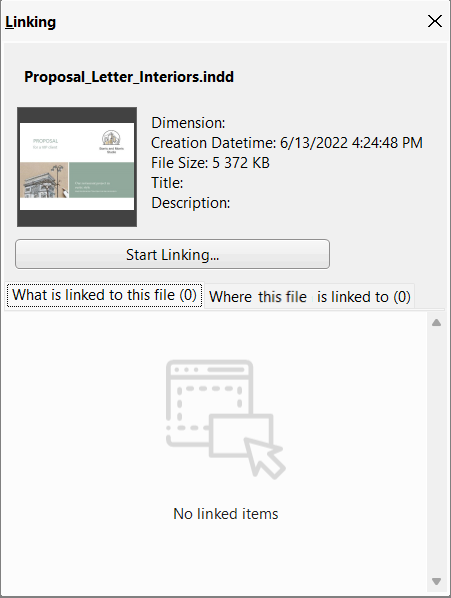
The Linking panel has two tabs where you specify the relationship between the selected file and the files it is linked to:
- “What is linked to this file” – for example, a piece of artwork might contain a logotype, several photos, and some vector images.
- “Where this file is linked to” – for example, a logotype may have been used in a piece of artwork, several calendars, and some banner ads.
The next step is to switch to the “What is linked to this file” tab, click on the “Start Linking…” button, and in the thumbnail browser, check the items you want to link to this file.

The files you check are added to the active tab in the Linking panel. Click on the red “Finish Linking…” button or right-click anywhere in the workspace to finish linking.
Items with specified relationships (links) are marked with a small “link” icon in the thumbnail browser, located in the bottom right-hand corner of the item thumbnail. Clicking on this icon reveals a small menu that indicates the number of digital items linked to the selected file. Clicking on the menu items opens the Linking panel directly from the thumbnail browser.
![]()