Waiting Room available in the Daminion web client includes two options: Required metadata and Manual moderation
The Required Metadata option helps you avoid storing untagged files in the Daminion catalog. After the import process, you can define which tags should be assigned to your files. The imported files are registered in the required tags area, but they are unavailable for searching, downloading, exporting, etc. until properly tagged.
The Manual Moderation option enhances the security of the catalog contents by providing the second level of approval of the files. When enabled along with Required metadata, it allows your admins to double-check the filled-in tags before making the files available in the catalog. When enabled as a standalone option, it allows your admins to verify that the contents of the uploaded files correspond to the parameters of the catalog before approving them.
Please note that both Required Metadata and Manual Moderation can be activated as standalone options.
How to activate Required Metadata
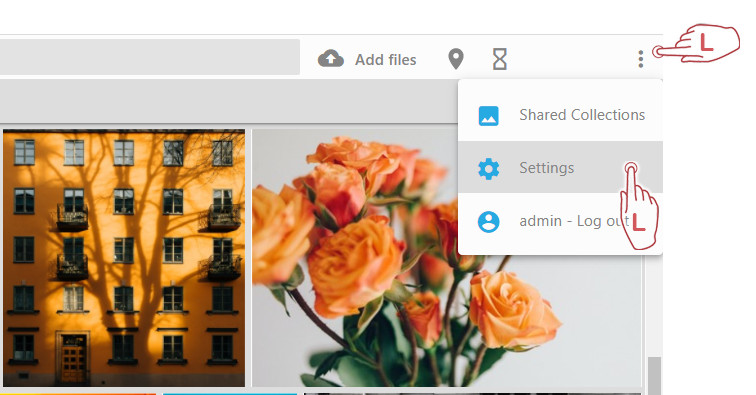
To activate Required metadata, log into your catalog as an administrator, click the three dots icon in the upper right corner of the web client interface, and select Settings.
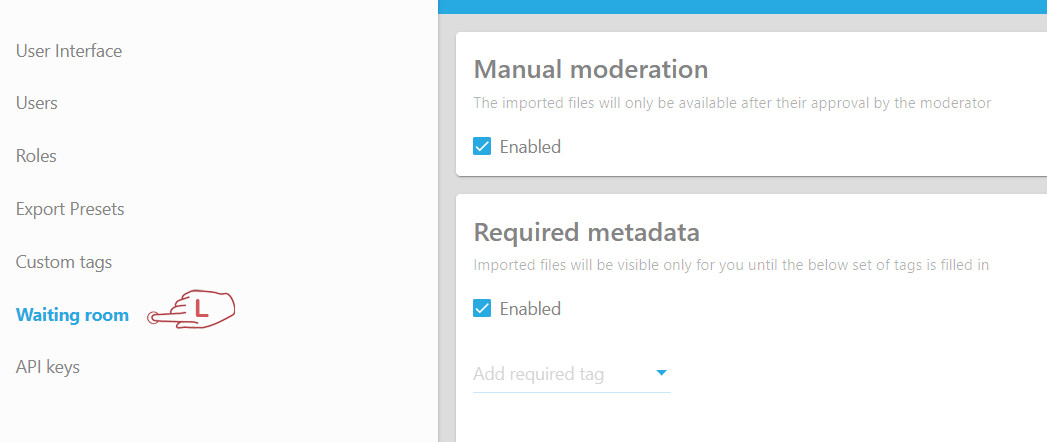
In the window that opens, click Waiting room, then enable the option Required metadata and click the dropdown menu to Add required tag. Here you can also activate Manual moderation.
In the Required metadata menu, click the down arrow to expand the list of available metadata fields that can be added as required tags.
In our case, we have selected Rating and Keywords as required tags. If the tag allows multiple values to be assigned to files, an additional “Minimal number of tags” entry will be shown.
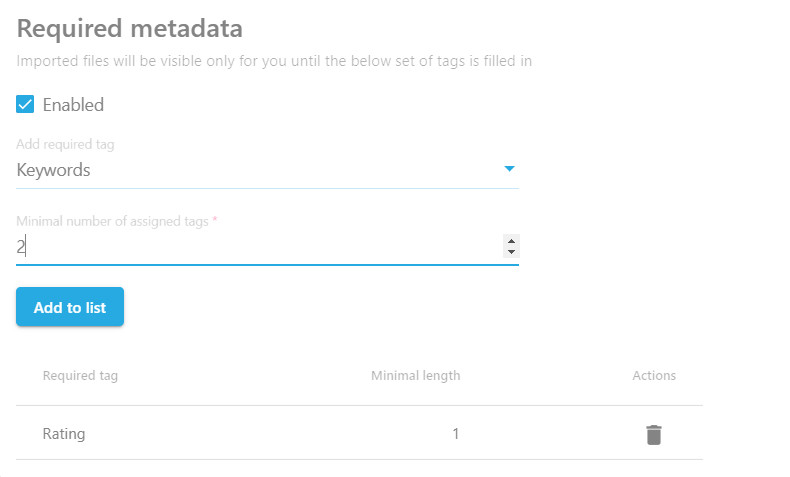
If the selected tag is a long text tag that allows only one tag value to be assigned to the files (for example, Event, Project, Comment), specify the minimum number of characters the tags can contain.
The screenshot below shows that 1 rating and at least 2 keywords should be assigned to the imported files.
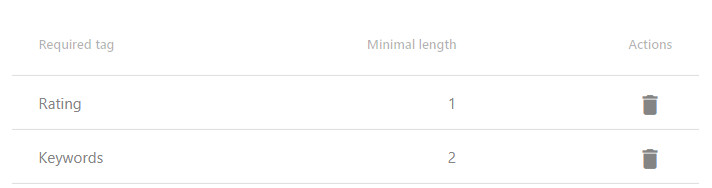
If you want to remove the tag from the list, click the trash bin icon.
Required Metadata area
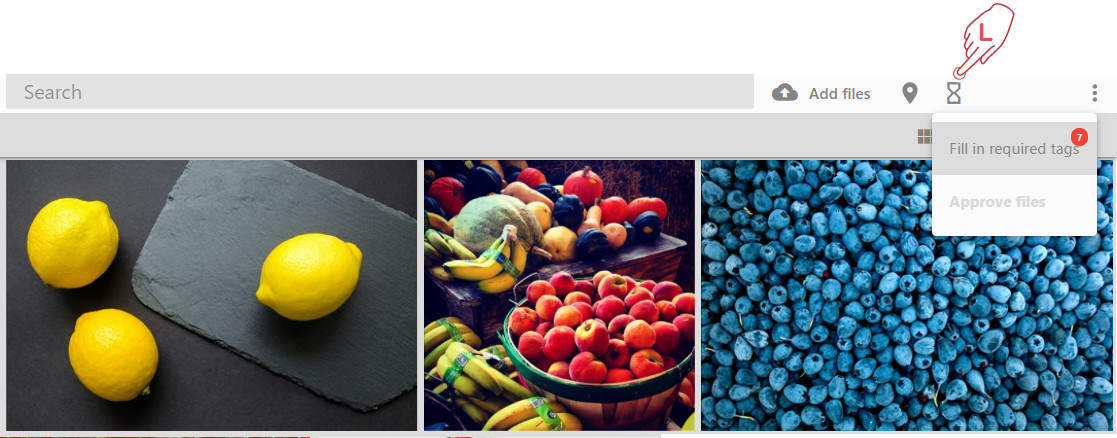
On the toolbar, click the hourglass icon to open the Required metadata area. Please note that only the images imported after the activation of the Required metadata option will get into this area.
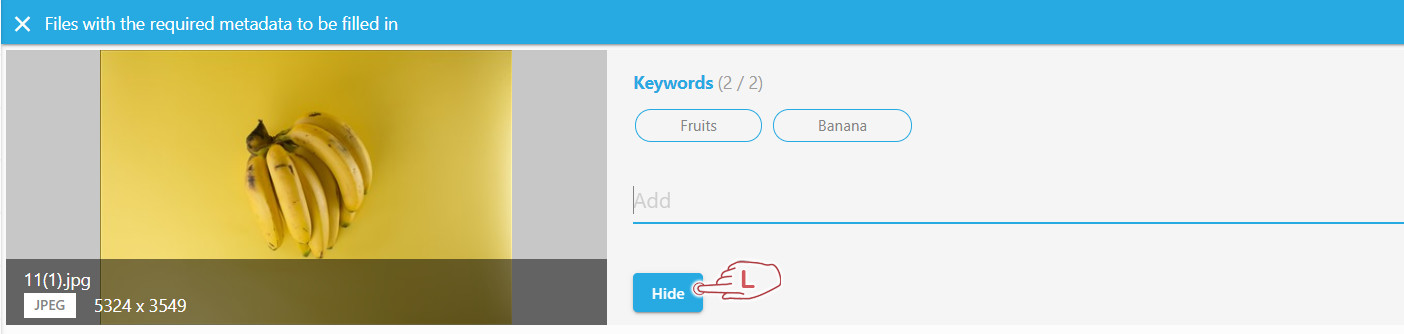
In the window that opens, start tagging your files. Once the tagging is complete according to the Required metadata settings, the Hide button will appear. In our case the settings were one Rating and two Keywords.
Click the Hide button to remove the images the Required metadata area.
Once your files are tagged, you can start searching for them based on the assigned tags. However, if Manual Moderation is enabled, the files will be available only to admins and the user who imported them until the files are approved.
Manual Moderation
When this option is enabled, all uploaded files should be approved by the admins before they get into the catalog.
If Manual Moderation is enabled along with Required Metadata, then the required tags should be filled in as well. However, if the file should urgently get into the catalog, an admin has an option to ignore unfilled tags and make the file available anyway.
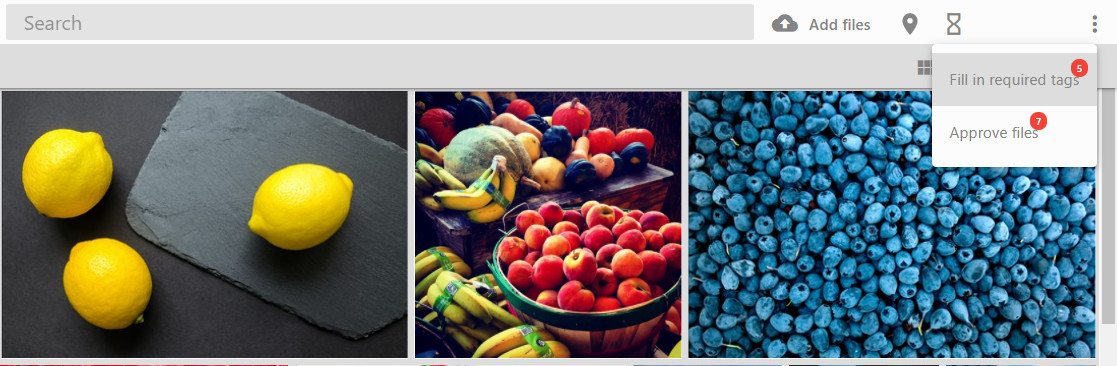
To access the Manual Moderation area, log in as admin and click the hourglass icon. Two options are available there: Fill in Required Tags and Approve Files
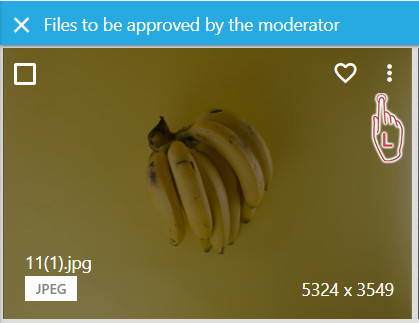
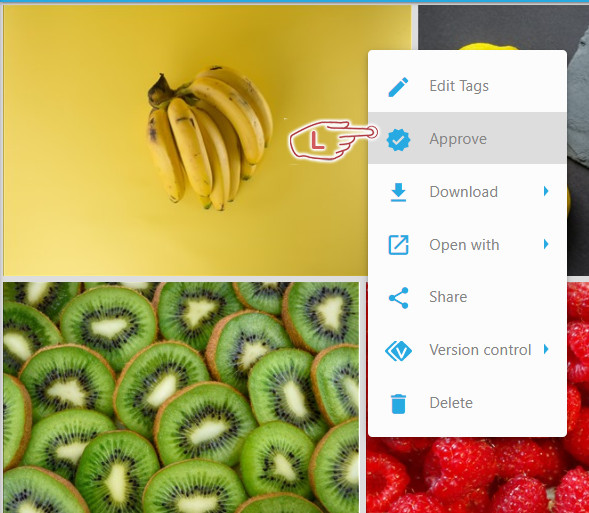
Click “Approve files” and in the window that opens, hover your mouse over a file that needs to be approved. Click the three dots icon and select “Approve”. You can select and approve multiple files at the same time.
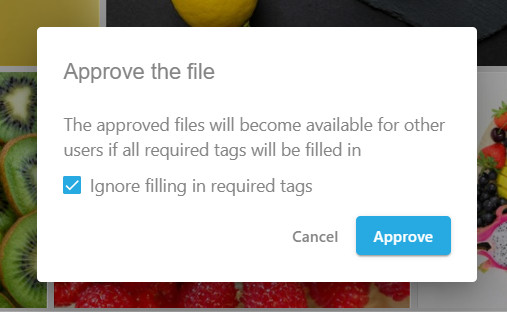
If a file lacks required metadata, you will have an option to approve it anyway if needed and make it available in the catalog for other users.
Learn more about Filtering and Searching in the Web Client.