This article explains how to create and assign tags to your items in the Properties Panel. The following example uses the Keywords tag.
Adding a new keyword
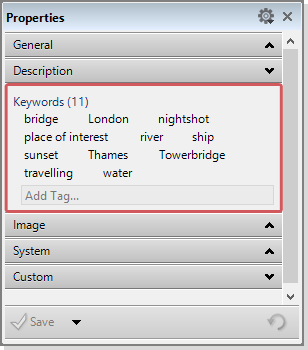
Once you have selected an item in the browser, you can view the contents in the metadata properties panel located on the right of the Daminion workspace.
To add a new keyword, simply type it into the Add Tag box.
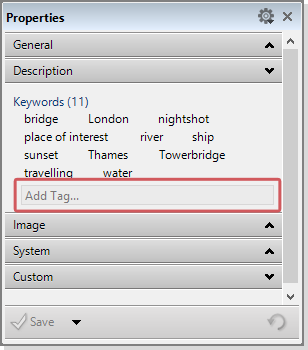
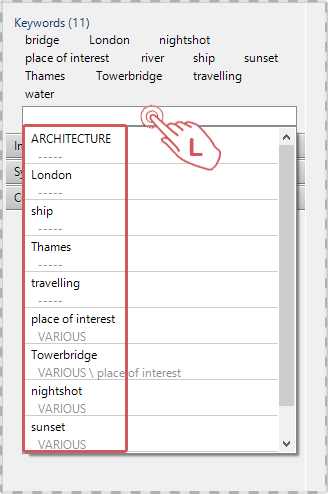
As soon as you enter your text, Daminion checks whether the combination of letters already exists and displays all correspondences in a Drop-Down list, which immediately allows you to recognize whether a particular keyword has already been assigned and is therefore already included in the database.
You can also add multiple tags simultaneously by separating them with commas.
When you have finished assigning your keywords, click Save at the bottom of the Properties panel to apply your changes.
You can simplify keyword assignment by double-clicking inside the Add tag box.
Daminion then opens a drop-down list containing the most recently assigned Tags. Thus allowing you to simply click and select the keywords you need instead of having to type them in full every time.
Removing a keyword
When you hover the pointer over a keyword, a small red and white X icon appears to the right of the keyword.
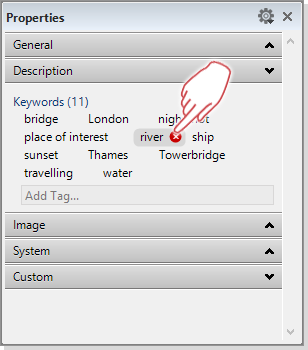
Click the X icon to remove the keyword from the item (please note: the keyword is not deleted from the tag list).
Tags can be deleted permanently only in the Tags panel. To do this, navigate to the desired tag in the Tags panel, select it and press the DEL key, or right-click the tab and select Delete from the sub-menu.
Assign multiple Tags and Tag hierarchies via text input
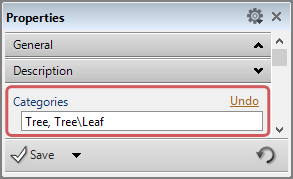
If you want to assign multiple tags simultaneously to a single item, put commas between the individual keywords.
Example: “tree, house, street”
If the tags used are already available, they will be assigned directly, otherwise, they will be created automatically.
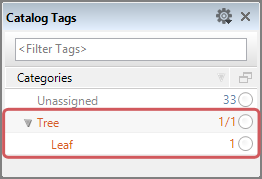
If you want to assign a complete keyword hierarchy, enter the parent hierarchies separated in each case by a “\” character.
