The watermark feature allows you to add a watermark to your images, like the one in the sample below.

The watermark feature allows you to add a custom watermark to your images, such as your company logo or a text bitmap containing your copyright information.
To access the watermark editor, first select an image, then click the “Export” button in the upper toolbar and choose either “Copy to Folder” or “Send by Email“.
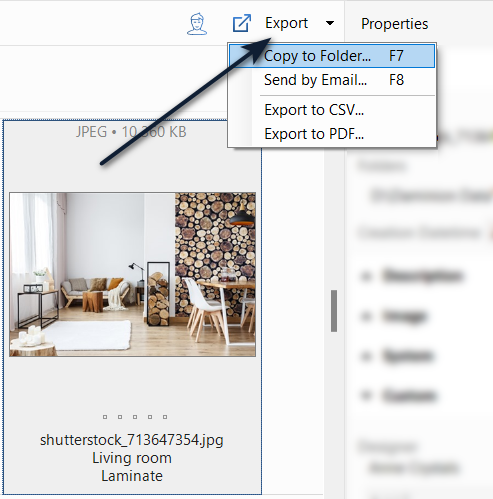
In the window that opens, click on the “Transform” dropdown menu and select “Customize” to open the watermark editor.
![]()
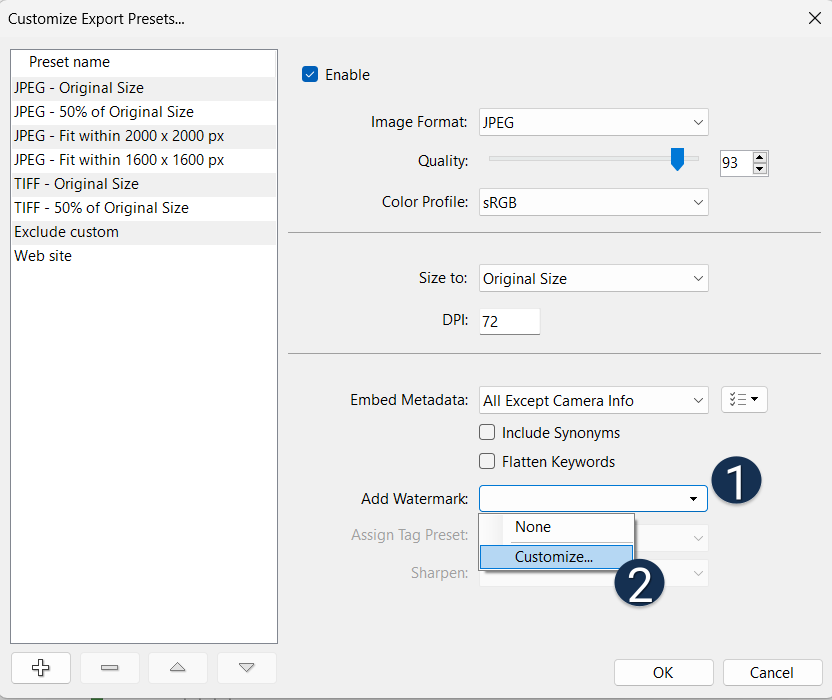
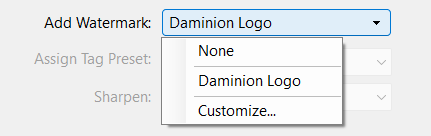
You will now be taken to the “Customize Export Presets” dialog, which allows you to modify the watermark settings. From there, click on the “Add Watermark” dropdown menu and select “Customize…” to open the watermark customization settings. For more detailed instructions on how to customize export presets, please refer to Customized Export Presets.
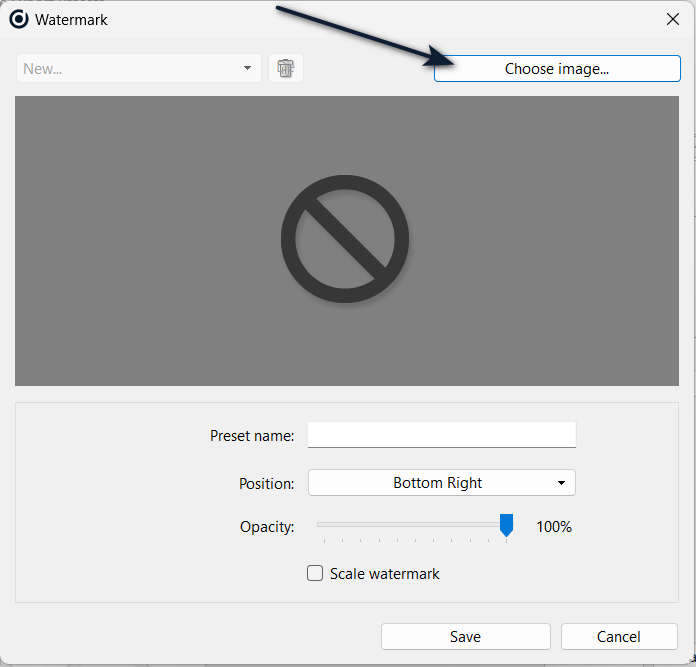
To create a new watermark preset, click on the “Choose Image…” button located in the top right-hand corner of the dialog box, and then select an image from your computer’s hard drive.
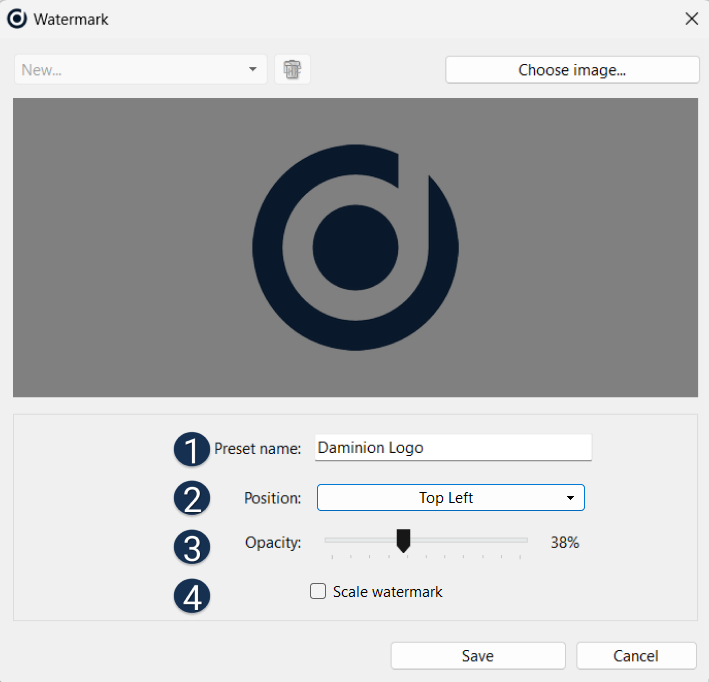
Next, enter a descriptive name for the new watermark preset in the “Preset name” box, which will help you remember the settings for later use. Then, use the “Position” button to place the watermark where you want it to appear over the exported image. You can also adjust the watermark’s transparency by using the “Opacity” slider, with lower values making the watermark more transparent. If the chosen watermark image is larger than the master image, you can check the “Scale Watermark” option to automatically resize it.
Your final settings should look something like the ones in the screenshot below.
Click the “Save” button to save your new watermark preset. The dialog box will close, and your newly created watermark will appear in the “Add Watermark” dropdown list within the “Customize Export Presets…” dialog box. From there, you can add the watermark preset to your export settings.
After the final export, all of your images will contain the selected watermark.