Before beginning auto-tagging, you must enable it in the Daminion Server Administration panel. Please follow the instructions provided in this article.
Once the feature is enabled, auto-tagging can be performed in both the Web Client and the Desktop Client.
To gain a better understanding of the concepts discussed below, please read the article explaining the difference between AI labels and AI objects.
The AI Object and translation feature is available in version 8.1 or higher.
Chat GPT tagging and translation are available starting from Daminion version 9.5
Auto-tagging in the Desktop Client
To generate Auto-tags using the Desktop Client, select the desired files, right-click on one of them, and select ‘Generate AI Labels/AI Objects’ from the Actions menu.
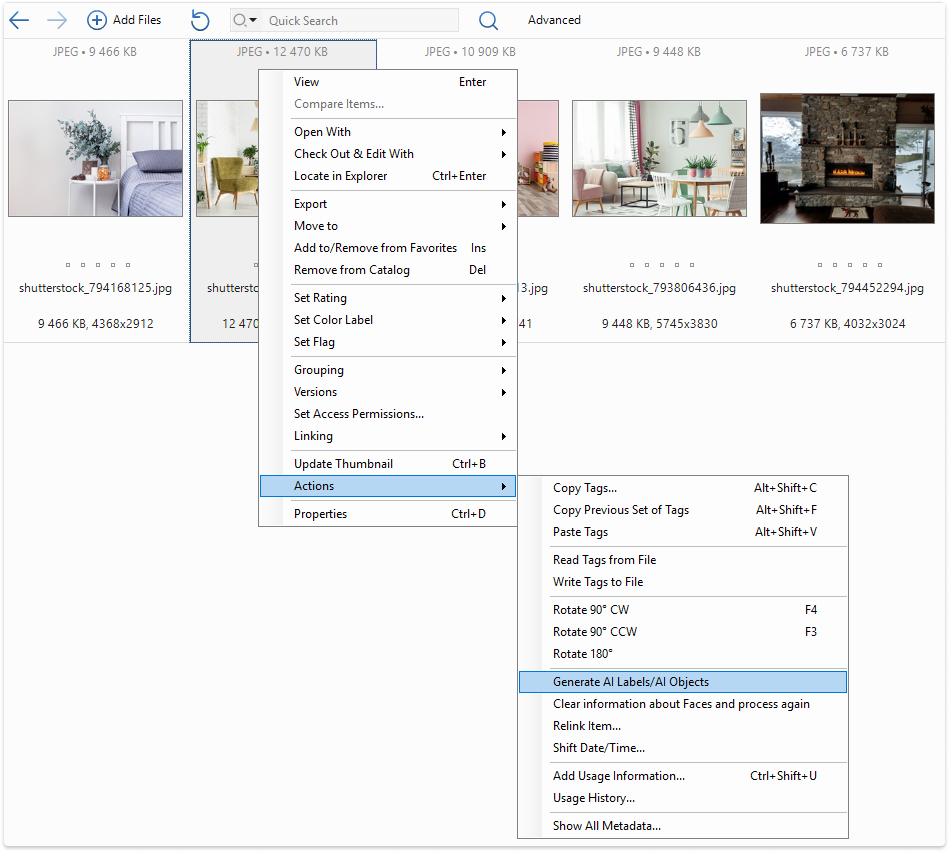
The following window will appear:
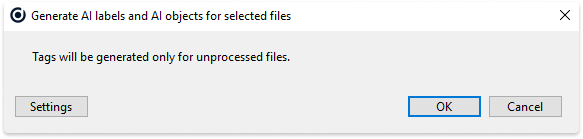
To confirm, click OK, or select additional tagging options by clicking the Settings button.
The following options will be available:
The functionality is described for server version 9.5+
Please note that it is only available to the administrator and is configurable for all users!
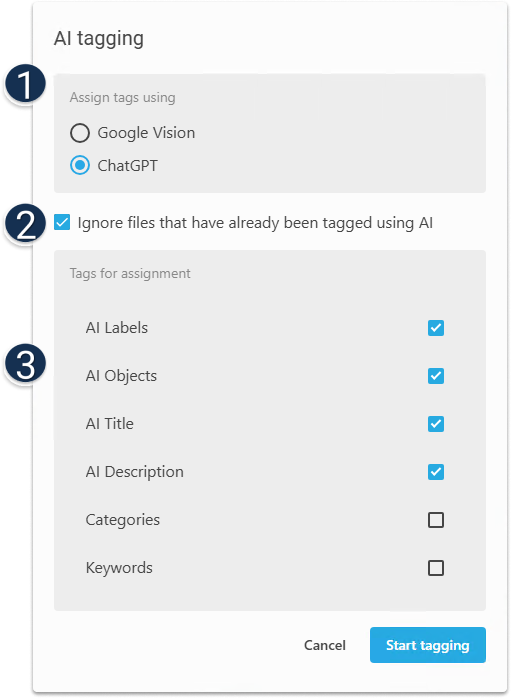
![]() AI Engines to use:
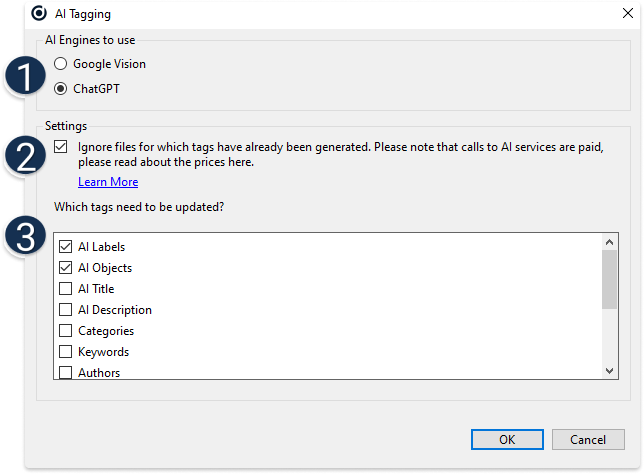
AI Engines to use:
Selecting a service for tagging.
- Google Vision: The option is activated by default. Select for tagging via Google Vision.
- ChatGPT: Not available by default until an API key is entered, see this page for more details
![]() Settings:
Settings:
You can choose to send already tagged files for tagging or not.
If a file has already been tagged via AI, it will not be sent again. This is necessary for mass tagging or resending if the tag set has been changed.
![]() Selecting tags for tagging via AI
Selecting tags for tagging via AI
Depending on the selected service, the set will be different.
Additional functionality is available for GPT:
- AI Title
Select the option to have the GPT generate a Title for your image. This is typically a sentence of four to five words that summarizes the content of the image.
- AI Description
Select the option to have GPT generate a detailed Description for the image. GPT will describe everything in the image, this description will help you find the image faster.
- Tags
If you have a tag structure, check the box next to the desired tag. GPT will try to match your structure and image. If there is a match, the tag will be assigned.
Both built-in tags and custom tags are supported.
If you have a specific structure with internal terminology, test this option on a few images.
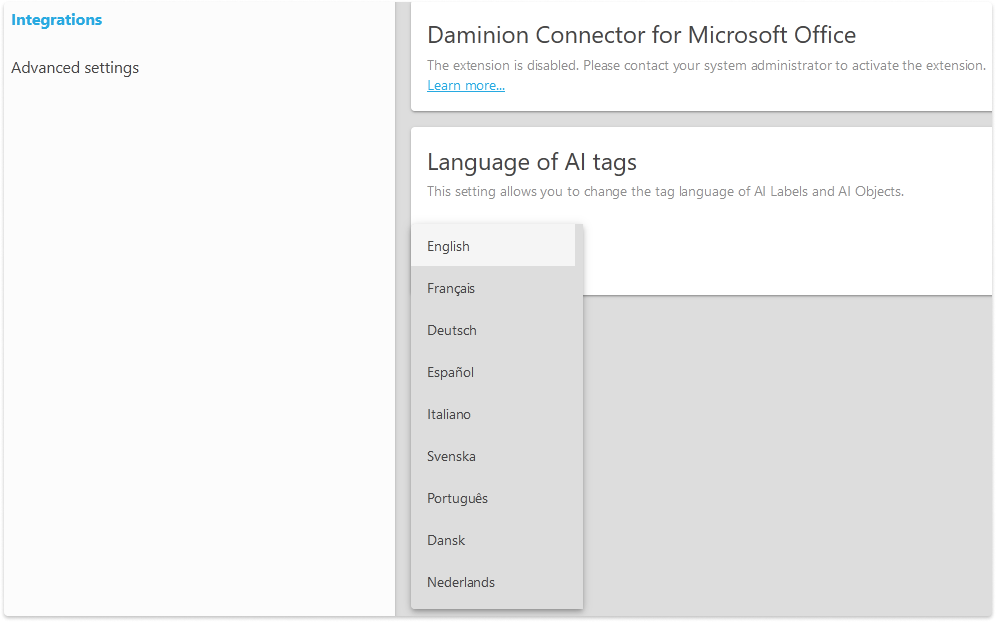
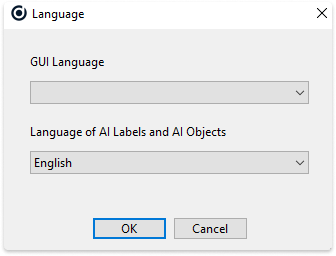
Translations AI tags
If you have selected additional languages for tagging in the admin panel, all ai tags will be translated into that language by default.
To display the AI tagging language you need to:
go to View > Language, and select a language from the list:
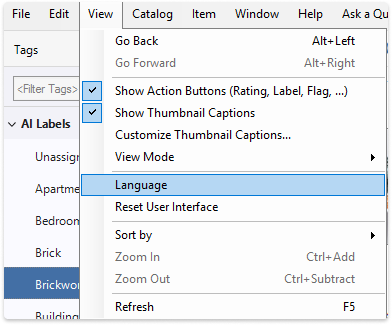
Note: AI tag language settings are the same for the web and desktop clients.
Auto-tagging in the Web Client
To initiate auto-tagging for your files in the Web Client, follow these steps:
- Select the desired files.
- Choose ‘Generate AI Tags’ from the drop-down menu.
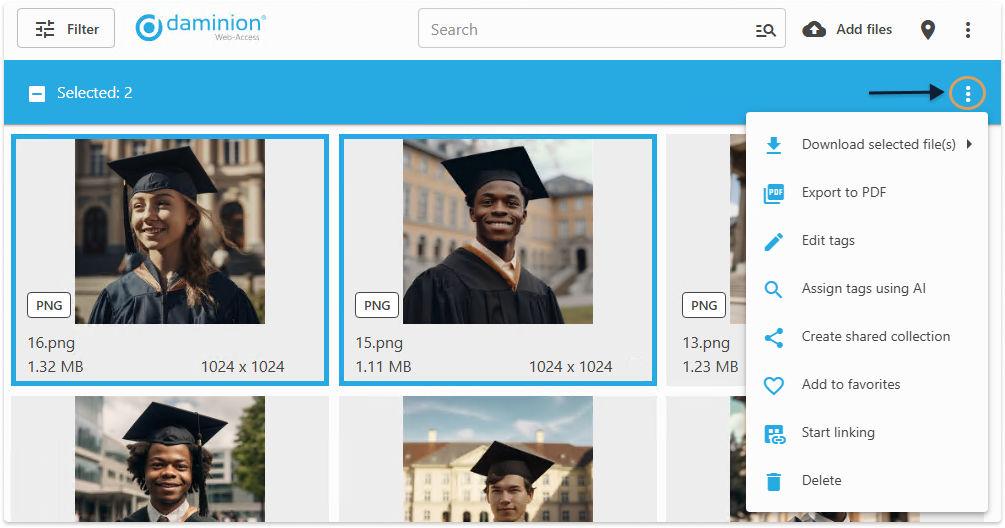
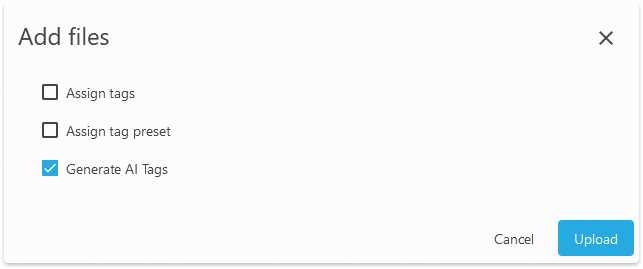
The following window will appear:
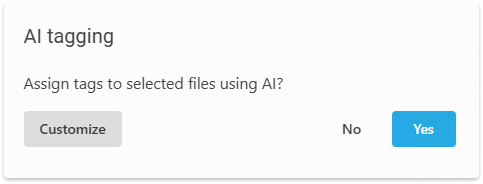
To confirm, click OK, or select additional tagging options by clicking the Customize button.
The following options will be available:
The description is the same as the desktop version
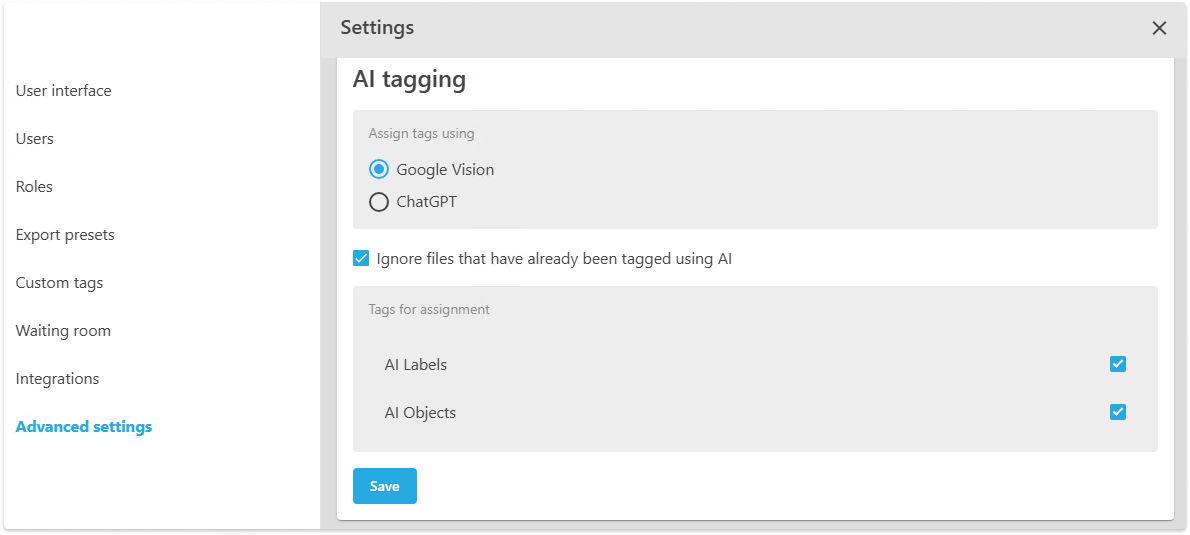
AI configuration is also available in the Settings menu.
Please note that it is only available to the administrator and is configurable for all users!
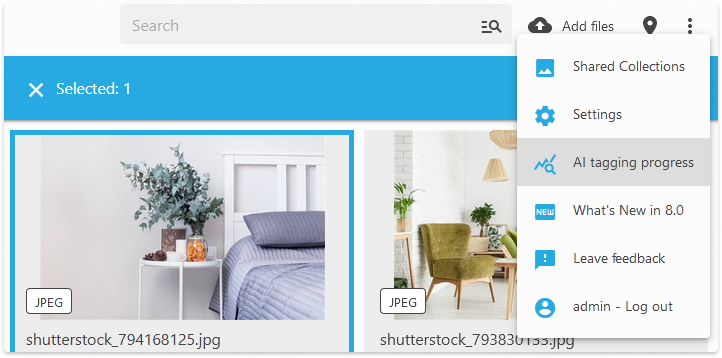
It may take some time to generate tags. To check the progress and see how many files are currently in the tagging process, follow these steps:
- Open the main menu.
- Select “AI tagging progress.
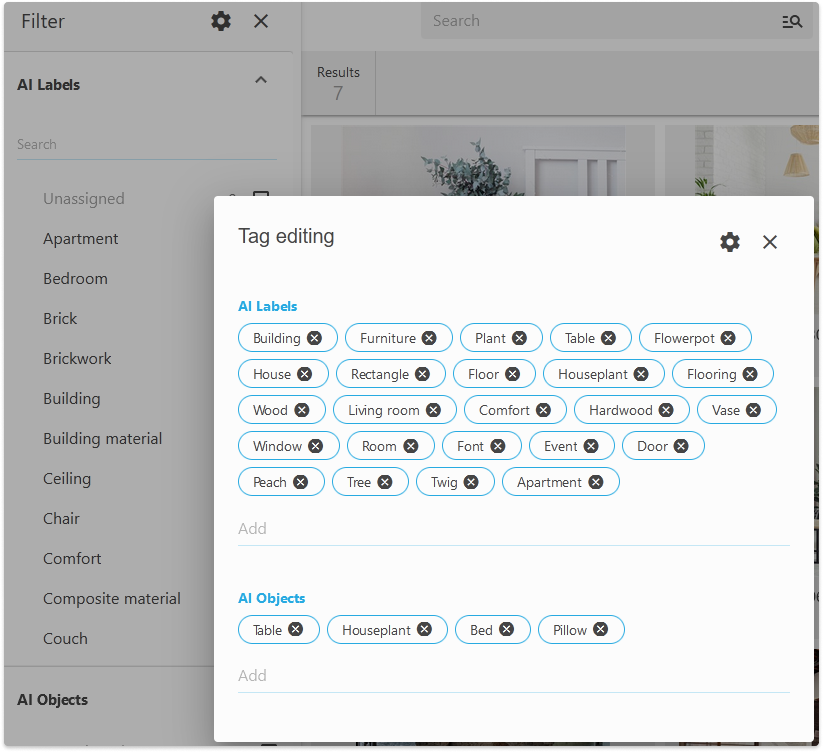
As a result, AI Labels and AI Objects will be assigned to the selected files.
AI tags generation can also be launched right during the import process.
When importing, there is no customization button and the previously configured options are applied. If there were no settings, the default is tagging via Google Vision.
To change the language of the AI tags, go to the Settings > Integrations menu and select a language from the list.