The “Export to PDF” option allows you to create contact sheets of your images that you can print or save in a PDF file.
To create a contact sheet, follow these steps:
- In the Browser window, select the images you want to include in the PDF contact sheet.
- On the toolbar, navigate to “Export” and then select “Export to PDF.”
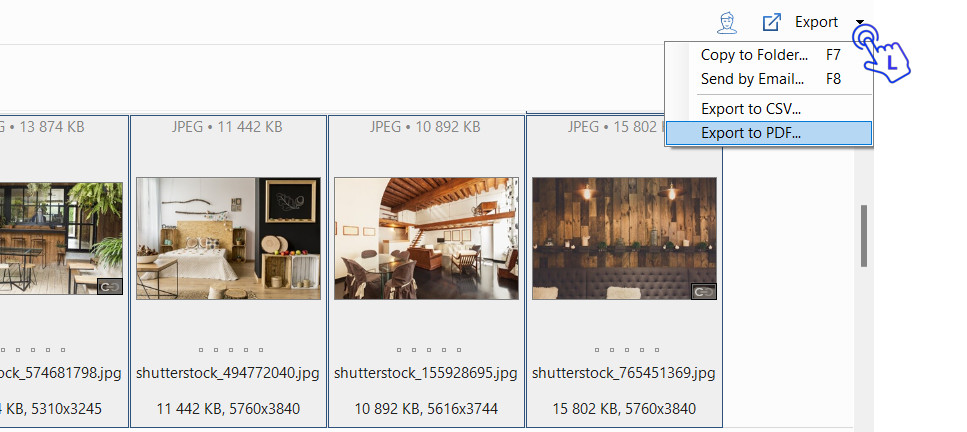
The ‘Export to PDF‘ dialog window opens.
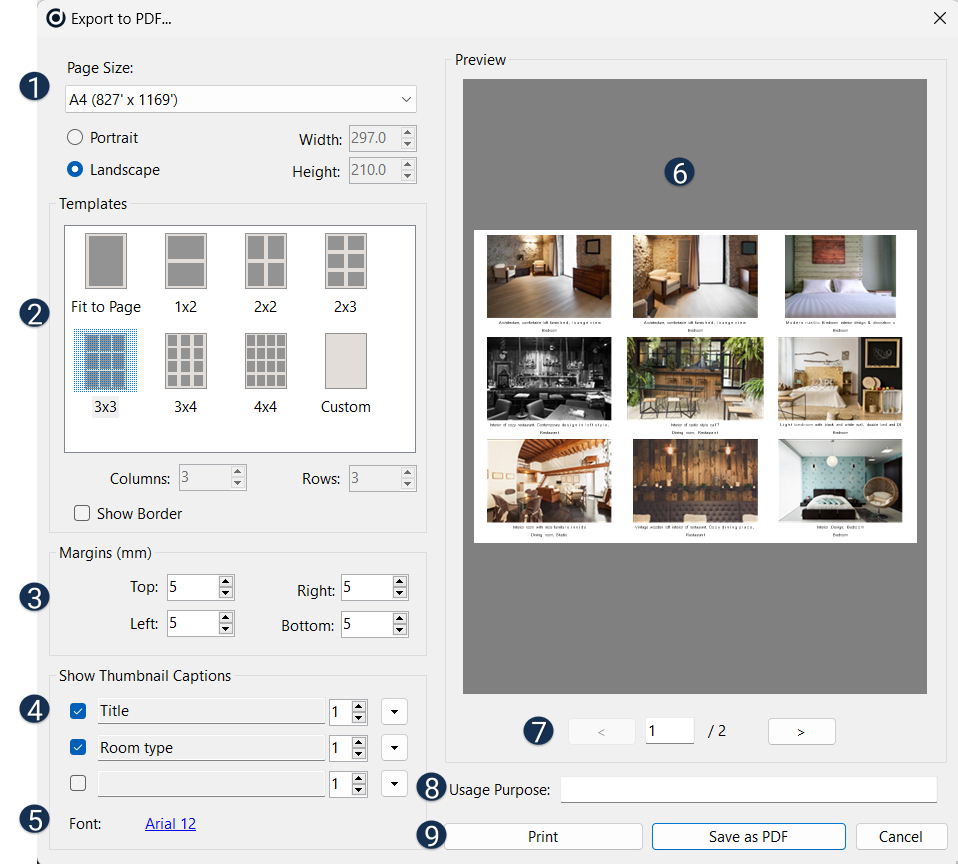
![]() Select paper size and orientation: After selecting “Export to PDF,” you will need to choose the paper size and orientation for your PDF contact sheet. You can typically find these options in the PDF export settings or preferences. Common paper sizes include A4, Letter, Legal, etc., and you can choose between portrait (vertical) or landscape (horizontal) orientation depending on your preferences and the layout you want for your contact sheet.
Select paper size and orientation: After selecting “Export to PDF,” you will need to choose the paper size and orientation for your PDF contact sheet. You can typically find these options in the PDF export settings or preferences. Common paper sizes include A4, Letter, Legal, etc., and you can choose between portrait (vertical) or landscape (horizontal) orientation depending on your preferences and the layout you want for your contact sheet.
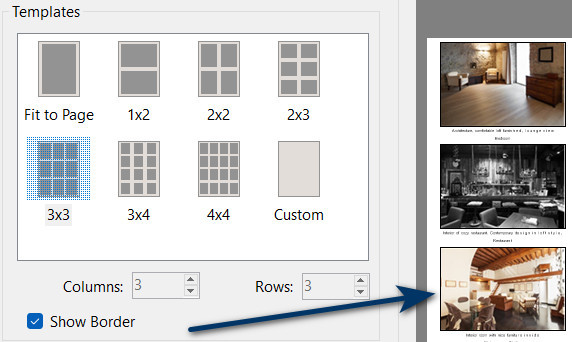
![]() Select the number of images that will appear on one page. Additionally, you can check the “Show Border” checkbox if you want to include a border around each image on the contact sheet. These options allow you to customize the layout and appearance of your contact sheet according to your preferences.
Select the number of images that will appear on one page. Additionally, you can check the “Show Border” checkbox if you want to include a border around each image on the contact sheet. These options allow you to customize the layout and appearance of your contact sheet according to your preferences.
![]() Set the PDF page margins: When creating a PDF contact sheet, you can typically set the PDF page margins to control the spacing and alignment of your images on the page. This setting allows you to define how much space should be left around the edges of the page.
Set the PDF page margins: When creating a PDF contact sheet, you can typically set the PDF page margins to control the spacing and alignment of your images on the page. This setting allows you to define how much space should be left around the edges of the page.
![]() Define thumbnail captions:
Define thumbnail captions:
- Check the appropriate boxes next to the images you want to include captions for.
- From the drop-down list, select the tags whose details you want to be displayed below the pictures.
This allows you to choose which metadata or information should appear as captions beneath each thumbnail image on the contact sheet.
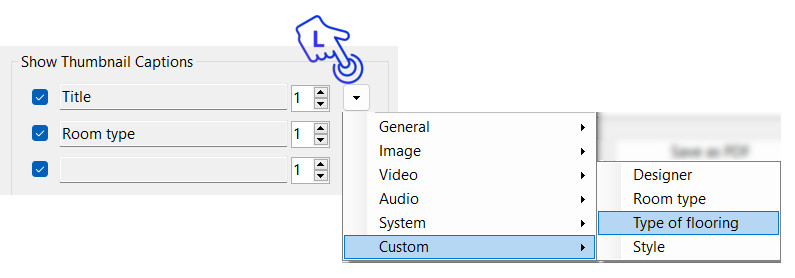
Use the number pad to the right of the keyword to specify how many rows should be displayed for each tag.
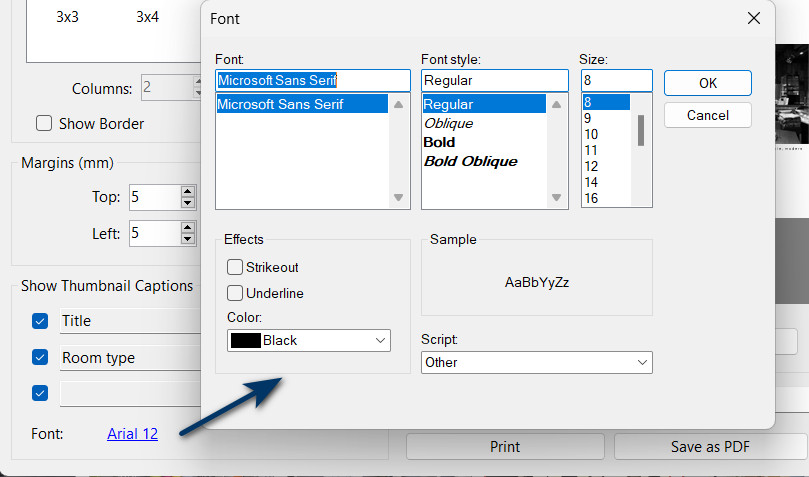
![]() Specify font style, size, and color.
Specify font style, size, and color.
![]() Preview of the current layout. If you have selected more images than can be enclosed on one page, they are automatically carried over to the following pages.
Preview of the current layout. If you have selected more images than can be enclosed on one page, they are automatically carried over to the following pages.
![]() Switch back and forth between pages using the arrow keys under the layout preview.
Switch back and forth between pages using the arrow keys under the layout preview.
![]() Describe the purpose for which this contact sheet was created.
Describe the purpose for which this contact sheet was created.
![]() Press Print to print the layout or Save as PDF to create a PDF file.
Press Print to print the layout or Save as PDF to create a PDF file.