Working with collections in Daminion Desktop Client
Collections in the web client were designed to create temporary selections of files for certain types of projects, such as marketing brochures, presentations, contact sheets, web galleries, or when the order of digital assets is important. They can also be used to create a selection of files to be sent directly by publishing tools like OneDrive or Dropbox.
Collections are only available in the desktop interface and cannot be displayed in the web client. For sharing in the web client, please refer to Shared Collections.
Daminion displays your collections in the Tags panel under the Collection tag. You can create as many collections as you like and manage them like any other tags, such as adding an unlimited number of items and deleting the ones you don’t need, arranging hierarchical levels, searching within collections, etc. Additionally, Daminion has a manual file-sorting option available in the Collection tag only. This is particularly useful when files need to be in a specific order, such as when printing calendars.
The Collection tag can be written to the metadata of the original files (XMP > Collection name).
Creating a new collection
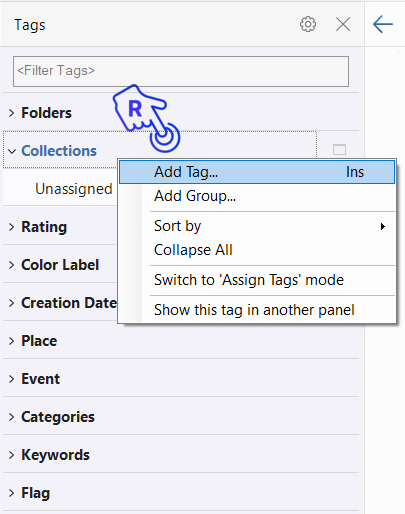
To create a new collection, right-click on the Collection tag in the Tags panel and select Add Tag. Alternatively, you can press the Ins key on the keyboard.
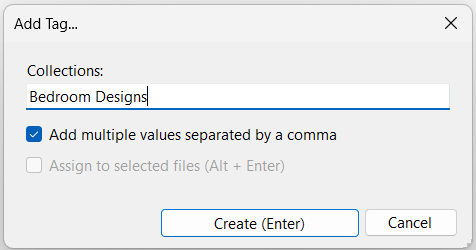
In the dialog box that appears, enter the name of your new collection and click the Create button or press the Enter key on the keyboard.
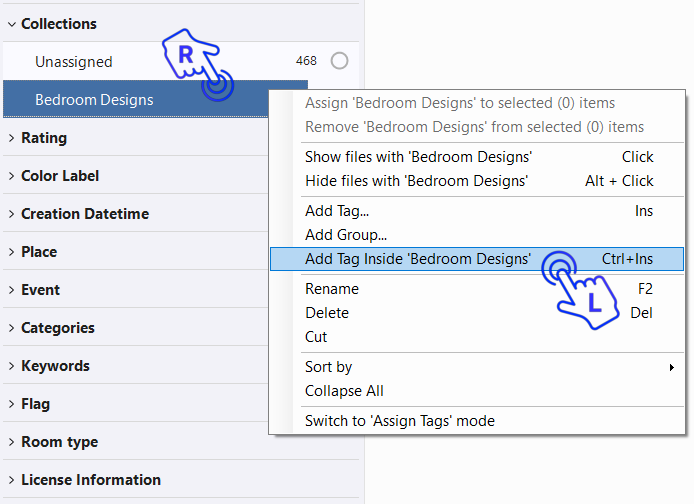
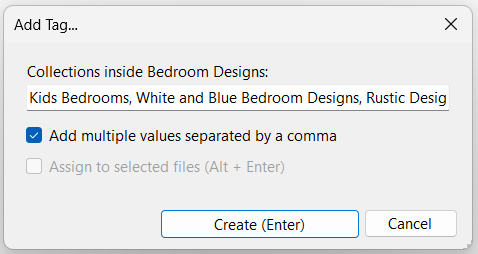
To create a hierarchy within a particular collection, right-click on the collection name and select Add Tag Inside from the context menu or use the keyboard shortcut Ctrl+Ins.
In the dialog that opens, enter the names of hierarchical levels separated by commas and check Add multiple values separated by a comma.
In the example below, we have created several collections for different purposes.

Manual sorting
The Manual sorting option is available within single collections only. Use this option to arrange your files in the required order and send them to a PDF file, for example.
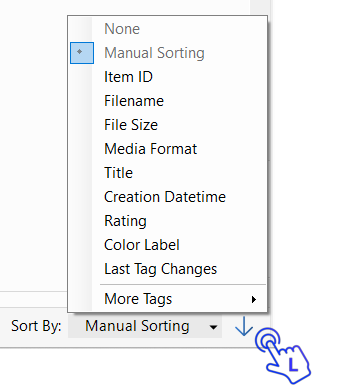
Select a collection. On the status bar (below the browser window), click the little triangle on the Sort By tab and select Manual Sorting from the drop-down menu.
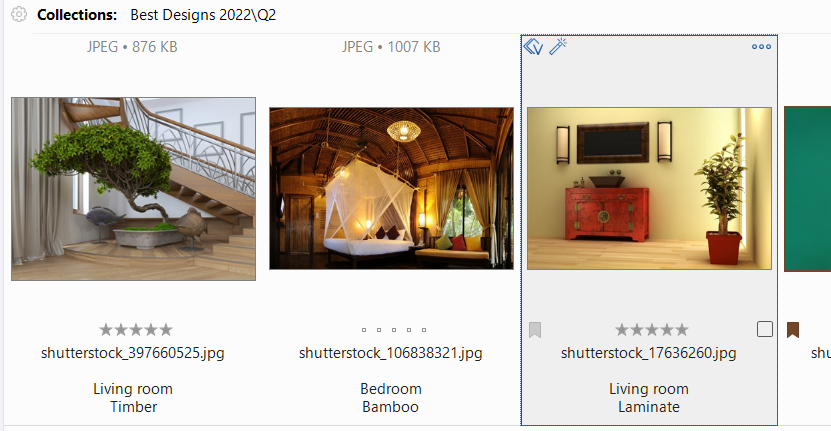
You can now change the sorting order by dragging and dropping the files. For example, let’s drag the item selected in the screenshot below:

And this is the result:
If you switch to a different sorting mode – sorting by File Size for example – and then back to Manual Sorting, the order of your manually sorted files remains unchanged.
Removing collection tags from items
To remove collection tags from items, follow these steps:
- Select the respective collection in the Tags panel.
- Next, select the item in the Browser window.
- Click the file and then press the Delete button and select Remove.
- A dialog box will appear asking you to confirm that the selected item should be removed from the Collection tag. Click Yes to proceed with the removal.

Click Remove to remove the collection tag from the item. Select Remove from the catalog and check Move the file(s) to Recycle Bin if you want the original files to be deleted.
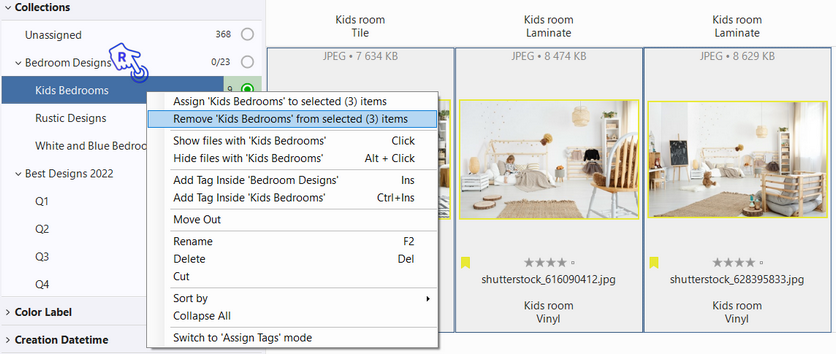
Alternatively, select the files in the Browser window, then select the Collection tag, right-click it and select Remove “TagName” from selected item(s).
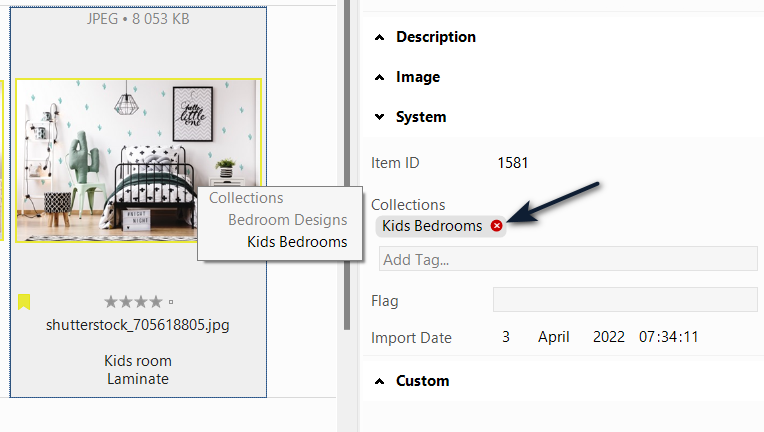
Another way to remove an item from a particular collection is to select the item and then go to the Properties panel. Under the System tab, click on the collection tag that you want to remove the item from. Then, click on the “x” button next to the tag to remove it from the item.