The “Customize Export Preset” dialog enables you to define and save your own export settings for future use. These customized presets can be employed to resize images, convert image formats, rename files, and apply your personalized watermarks.
Export presets can be created in the desktop client and are immediately accessible in the web client, and vice versa. You can learn more about creating export presets in the web client by referring to this article.
This article provides instructions on how to create and save a custom preset in the desktop client and how to apply it when exporting files to a folder.
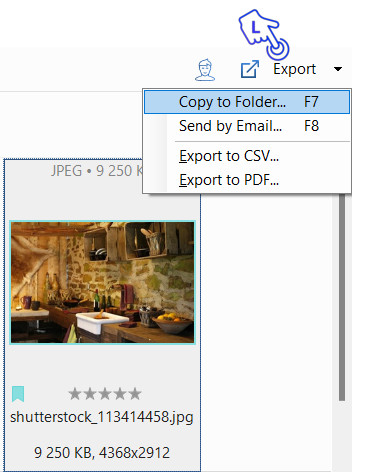
To access the “Customize Export Preset” dialog, select the files in the Browser window, click on “Export” and then select “Copy to Folder.”
The following window will open.
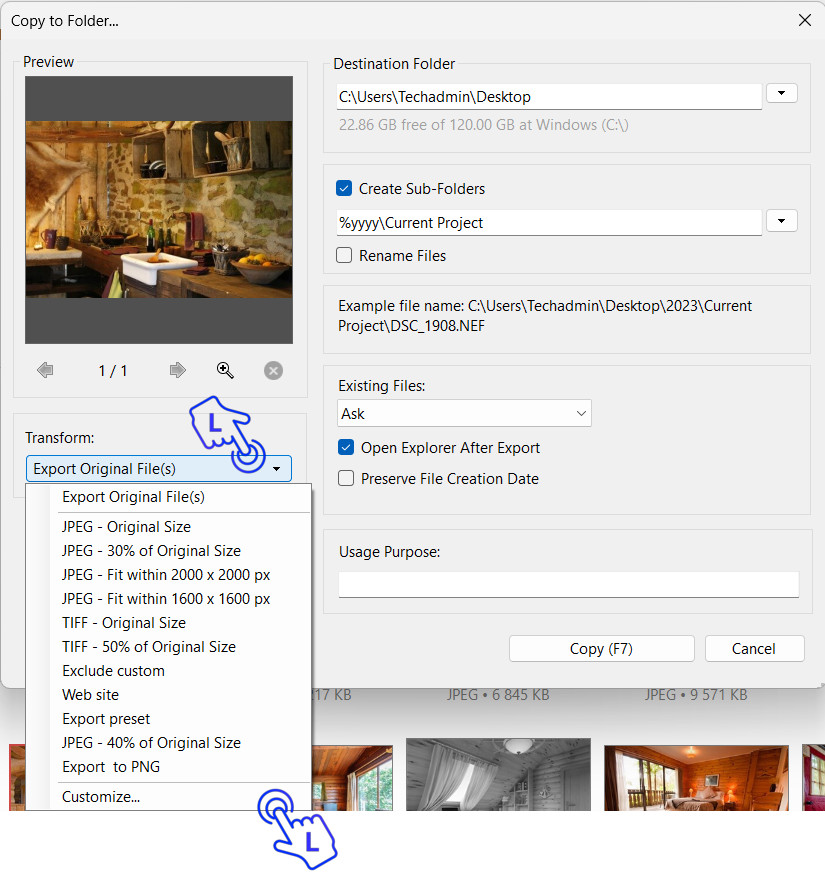
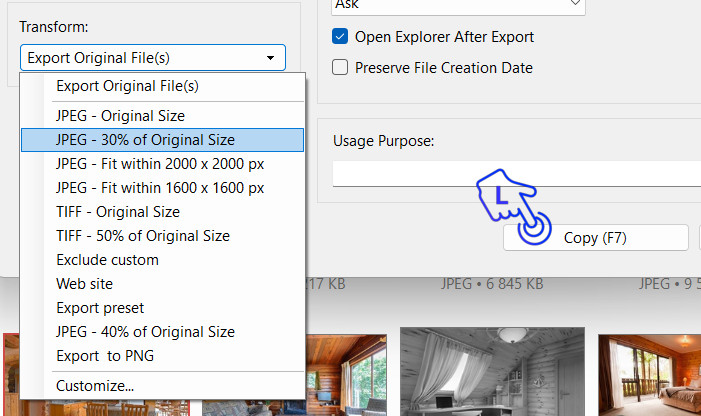
In the ‘Transform’ drop-down list, choose ‘Customize’ to open the Template Editor.
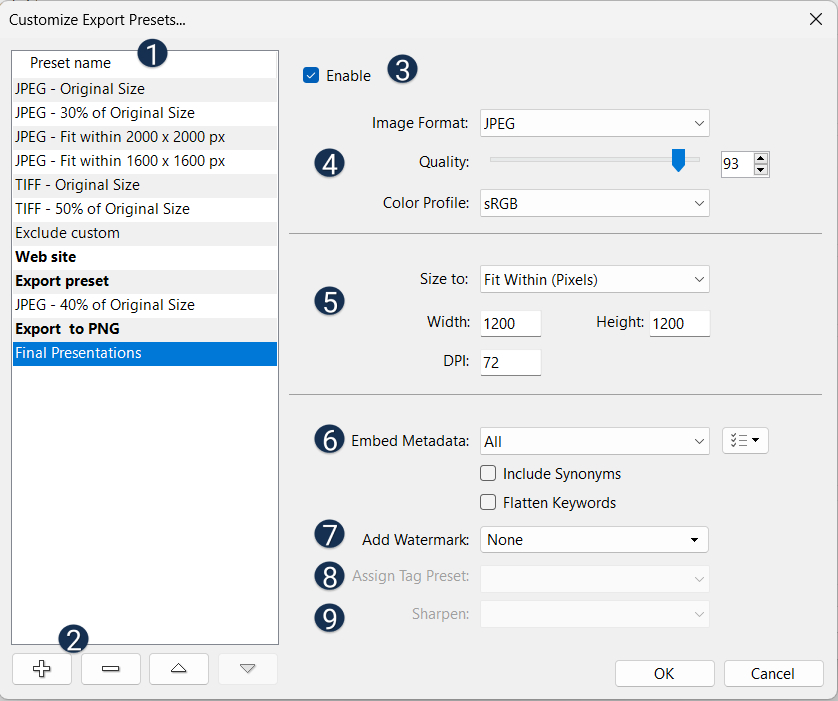
![]() Preset Name
Preset Name
Here you can see a list of all the existing export presets. Newly created custom presets appear at the bottom of the list. Click any of the presets on the list to see its corresponding settings on the right of the dialog box.
![]() Action Buttons allow you to:
Action Buttons allow you to:
![]() Add a new preset
Add a new preset
![]() Delete an existing preset
Delete an existing preset
![]()
![]() Reorder the list of presets
Reorder the list of presets
To create a new preset click the plus button (bottom left corner). This adds a new entry to the list and prompts you to enter a descriptive name. ![]()
You can override the existing default name, which is “{format} – {sizeto},” with a name that best describes the task you want to perform.
Alternatively, you can click on any of the presets in the list, make your desired changes, and then click the plus button. This will create a new template based on your updated settings, and the name of this preset will be generated automatically from the size and format settings you have chosen.
![]() Click Enable to make the preset available for all users.
Click Enable to make the preset available for all users.
![]() Image Format: Select the file type your file(s) should be converted to.
Image Format: Select the file type your file(s) should be converted to.
Quality: Set the quality of the exported image.
![]() Size To: Select the units of measurement to be used for the image dimensions in the box below. If you select “Original Size”, the image will not be resized in any way.
Size To: Select the units of measurement to be used for the image dimensions in the box below. If you select “Original Size”, the image will not be resized in any way.
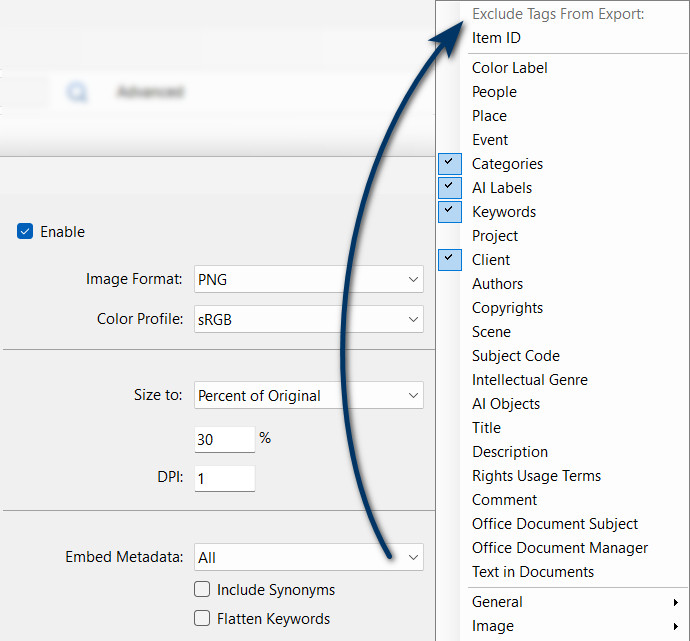
![]() Embed Metadata
Embed Metadata
Decide which metadata should be embedded in the image. You can choose from:
- None. No Metadata is embedded in the image.
- All. All Metadata is embedded in the image.
- All Except Camera Info. All Metadata embedded apart from the EXIF Information containing Camera Info such as camera type and model or lenses used.
- Copyrights Only. Only Copyright Information is embedded in the image.
To precisely specify which metadata tags should or shouldn’t be embedded, click the ![]() button located to the right of the “Embed Metadata” drop-down list.
button located to the right of the “Embed Metadata” drop-down list.
Note: When publishing your images on the internet, consider choosing “None” to prevent unintentional disclosure of private or confidential information. This is important because all the metadata contained within an image can be readily accessed by other software, potentially revealing sensitive details.
Include Synonyms: If the selected tags contain synonyms, choose whether or not they should be included in the metadata.
![]() Add Watermark: Add an image of your choice as a watermark to each image. See the “Add Watermark” article for details.
Add Watermark: Add an image of your choice as a watermark to each image. See the “Add Watermark” article for details.
![]() Assign Tag Preset: Select a tag preset that you have created using the “Tag Preset Editor“.
Assign Tag Preset: Select a tag preset that you have created using the “Tag Preset Editor“.
![]() Sharpen: Add some of the sharpness that images have lost after resizing.
Sharpen: Add some of the sharpness that images have lost after resizing.
Click “OK” to close the dialog box. The new custom preset will be added to the preset list and can be recalled whenever needed.
To start export, select the desired preset from the list and click “Copy”, or press F7.