This feature is available for Daminion Server editions only!
Once you have installed and activated the Web Client in Daminion, you can open your shared catalogs through the web browser. For instructions on how to do this, please refer to Activating Web Access.
Firstly, before you log on, you’ll need to create a username and password in the Daminion User Management window. For instructions on how to do this, please refer to User Management.
After you have logged on successfully, the Web Client will open the shared catalog in your web browser.
Overview of Web Client Workspace
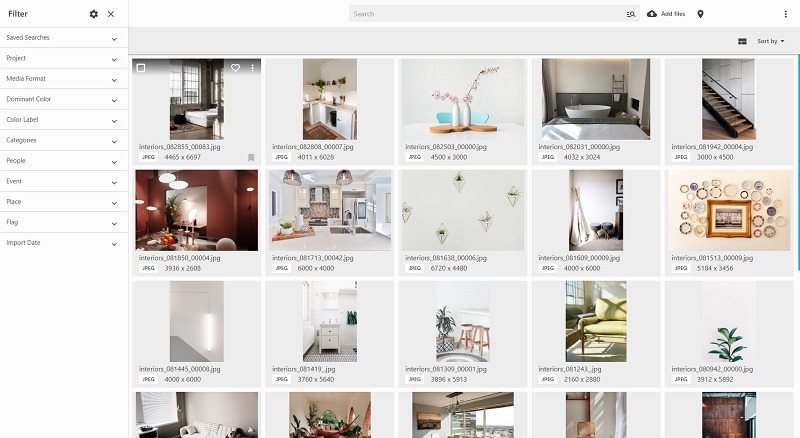
Web Client and Daminion Desktop Client are quite similar in terms of interface and how they work.
Toolbar
The toolbar runs across the top of the Web Client workspace.

1 – Click this icon to display the Tags panel on the left side of the workspace.
2 – This is your company logo. Please refer to the article Customizing the Web Client Interface to learn how to change it and customize the color scheme to match your brand.
3 – Enter the tag you’re looking for in the Search bar. Please read the article Searching and Filtering in Web Client to learn more about how these options work in Daminion Web Client.
4 – Click Add files button to upload your files into the catalog
5 – Click the pin icon to opens the Map, where you can locate your Geo-tagged files or assigned GPS coordinates to the files. Please refer to this article to learn more.
6 – Click the three dots in the upper right-hand corner to open a drop-down menu with more features (see screenshot below).
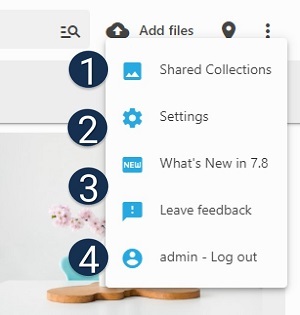
1– Create new shared collections and manage existing ones. For more information, please refer to “Shared collections”.
2– Click “Settings” to adjust the catalog interface to your brand, create new Export presets, Custom tags, Manage users and Roles. For more information, please read the article “Customizing Web Client’s Interface”.
3– Find out what’s new in the latest version and leave your feedback.
4– log out of the catalog as soon as your work session is over. It is very important to do this when working with multiple logins. If you don’t, other users may be denied access to the catalog because all the available connections appear to be in use.
Status Bar
The Status Bar is just below the toolbar.
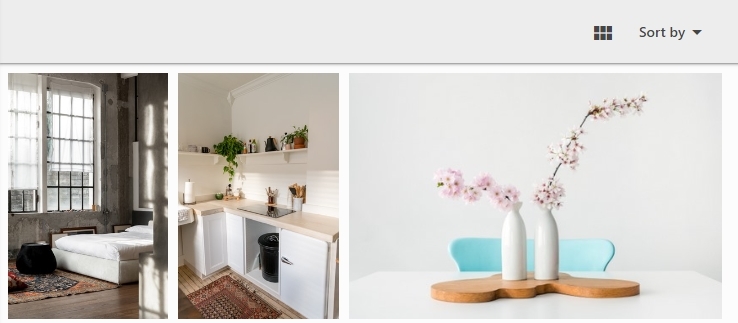
By default, only a few options are shown on the Status Bar.
When there are no files selected the options on the Status Bar allow you to switch between the view mode of thumbnails with or without captions ![]() and change the Sort mode
and change the Sort mode
When at least one file is selected, clicking the ![]() icon allows you to drop the selection, and clicking the
icon allows you to drop the selection, and clicking the ![]() Select All icon allows you to select all files displayed on the current page.
Select All icon allows you to select all files displayed on the current page.
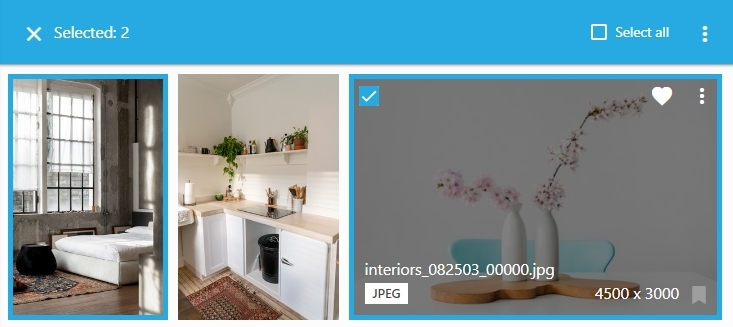
To display more options, click the three dots icon in the right corner of the Status Bar as shown on the screenshot below:
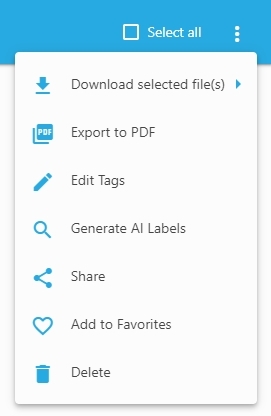
Please refer to the following articles to learn more about each of the listed options:
Browser Window
The Browser Window is the central area of the Web Client workspace, where all items are displayed.

Hovering the mouse over an item’s thumbnail reveals additional symbols.
![]() The footer of the thumbnails shows information about an image: Title or Filename (when Title is not assigned), File format, Width and Height, and Color Label. Click this icon
The footer of the thumbnails shows information about an image: Title or Filename (when Title is not assigned), File format, Width and Height, and Color Label. Click this icon ![]() to change the color label of the file.
to change the color label of the file.
![]() Click this checkbox to select a file
Click this checkbox to select a file
![]() Click this icon to add the file to Favourites (Learn more here)
Click this icon to add the file to Favourites (Learn more here)
![]() Click this icon to display additional options as shown on the screenshot below:
Click this icon to display additional options as shown on the screenshot below:
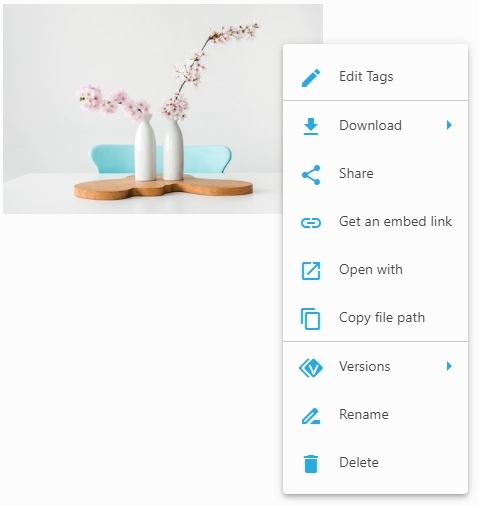
Please refer to the following articles to learn more about each of the listed options:
- Edit Tags
- Download Files with Presets
- Create Shared Collection
- Integrate Daminion with CMS via Embed Links
- Open with
- Copy file path
- Export to PDF
- Versions
- Rename
- Delete
Filter Panel
Navigate through your categorized tags in the Filter Panel – displayed by default on the left-hand side of the browser window.

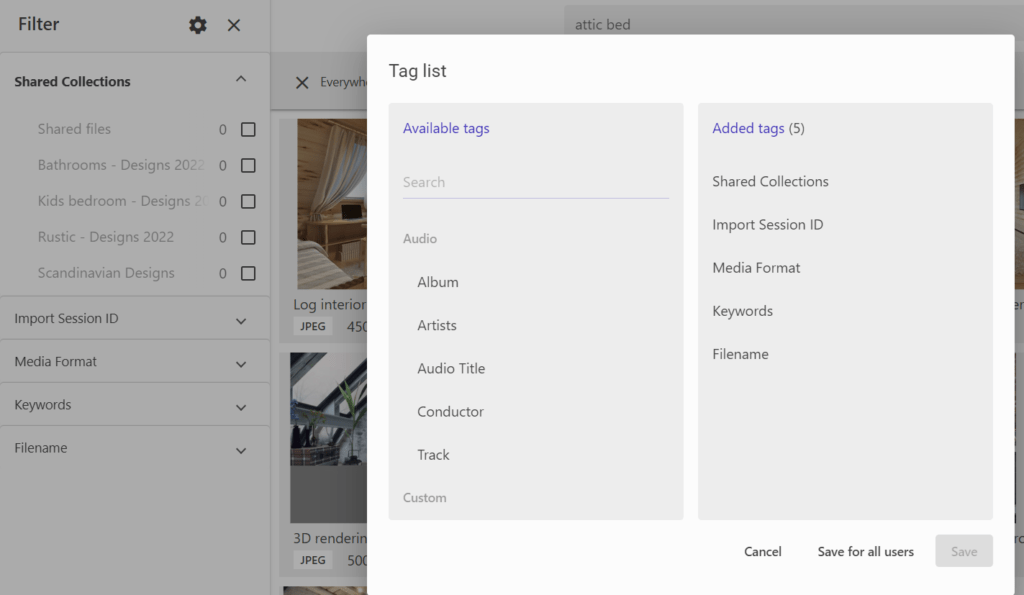
1– Click the gear icon ![]() to open the window where you can adjust the view of the Filters panel (rearrange tags, add tags, remove tag from the Filter panel). Please note that starting with Daminion 7.7, the availability of tags in the Filters panel is regulated by the role-based Tag Access Restrictions.
to open the window where you can adjust the view of the Filters panel (rearrange tags, add tags, remove tag from the Filter panel). Please note that starting with Daminion 7.7, the availability of tags in the Filters panel is regulated by the role-based Tag Access Restrictions.
2– Click on the Tag to expand it and display the search bar
3 – In the search bar start typing the first letter of the word or the whole word to locate it in the list

4 – Check the checkboxes to select the files assigned to one or multiple tags.
Click the OR icon to change the operand to AND and vice versa 
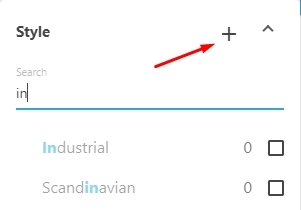
When you hover your mouse over the name of the expanded tag, a plus icon appears. Click on it to create new tags.
To learn more about tagging in Web Client, please refer to Tagging in Web Client.
