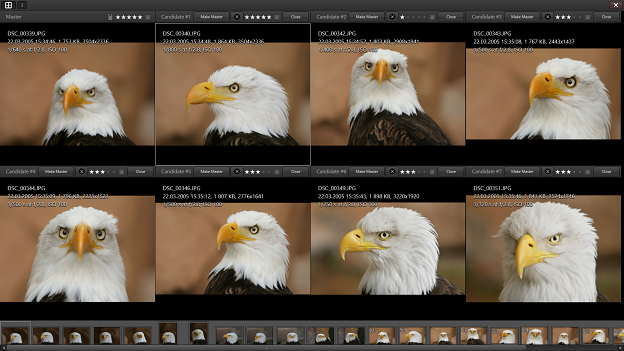
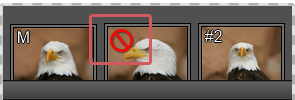
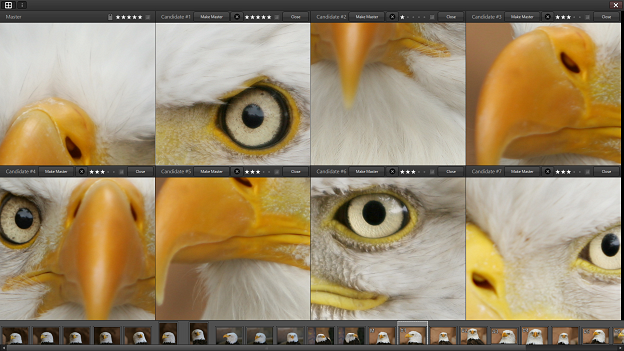
Compare Items view allows you to quickly find the right image from a series of similar images. You can exclude, select, and/or rate images. And you can zoom all images simultaneously with just one click – useful for quickly identifying the sharpest image in a series.
Launching Compare Items View
Select the photos you want to compare (from 2 to 8 images at a time).
In the file menu, navigate to “Item” and then click “Compare Items“.


(A) Use this button to switch between multi- and single-view. When the button is pressed in, only one image is displayed, thus allowing you to use the function buttons F1 through F8 (C) to switch quickly between the respective images.
(B) Click this button to display additional file information: filename, shooting date, image size, and recording parameters.
To close Compare Items view, click the X button (D) or press the ESC key.
The taskbar above the images
Each of the images on display has an individual taskbar above it. (A)

Click the Make Master button (B) to anchor the respective image in the top left corner of the first window. The image can only be replaced by clicking Make Master above another image in the film strip.

The filmstrip at the bottom of the screen displays all images currently present in the browser window.

In addition, the images currently displayed in the viewports above are marked respectively in the filmstrip. The “M” stands for Master (your chosen candidate) and the numbers #1 – #8 are the respective candidates currently on display in the viewport.
The currently selected image is displayed in the viewport within a white frame. You can replace this image, either by rotating the mouse wheel or by clicking on another image in the filmstrip.
Zoom View
Hold the mouse pointer over any one image and click to view all images at 100% magnification. Then use the mouse pointer to move all images simultaneously to help you identify the most appropriate candidate.
